Have you ever wondered what technologies are behind some electronic devices that can detect the distance to nearby objects without touching anything? In that case, ultrasonic sensors are the answer. Picture this: you’re struggling with your latest electronic project, but it could be better. The inclination measurements look somehow wrong. No problem! We developed this beginner’s guide to ultrasonic sensors for a reason. We shall unwrap the mystery of these smart tools. Explore our comprehensive guide and learn everything about Ultrasonic Sensor HC SR04, from its working principle to practical applications.
What are Ultrasonic Sensors?
An ultrasonic module is an electronic appliance that uses ultrasound waves (unlike the human audible frequency) to measure the distance and size of objects nearby. For example, bats and dolphins use these sensors in their environments by employing echolocation techniques.
This sensor uses an ultrasound method (a type of sound with frequencies higher than the upper limit of hearing for humans) to produce sonic waves and determine when these waves need to reach the object after being reflected. This allows it to accurately estimate the distance between the object and the sensor.
How do Ultrasonic Sensors Work?
The operation of an ultrasonic sensor is just brilliant but extremely simple.
- Emission: The sensor produces a relatively high-frequency acoustic wave, usually greater than 20 kHz and lower than 500 kHz, with a piezoelectric transducer.
- Transmission: The sound carries through the medium of (air, water, or otherwise) and hits an obstacle on its route.
- Reflection: When the arriving sound wave comes and bounces off an object, it reflects a part of the wave back to the sensor again.
- Reception: The sensor’s receiver, one more piezoelectric transducer, perceives the sound wave’s reflection.
- Time Measurement: The sensor measures the time gap between the emission and reception of the sound wave.
- Distance Calculation: The sensor measures time and uses the speed of sound formula in the medium: Distance = (Speed of Sound × Time) / 2.
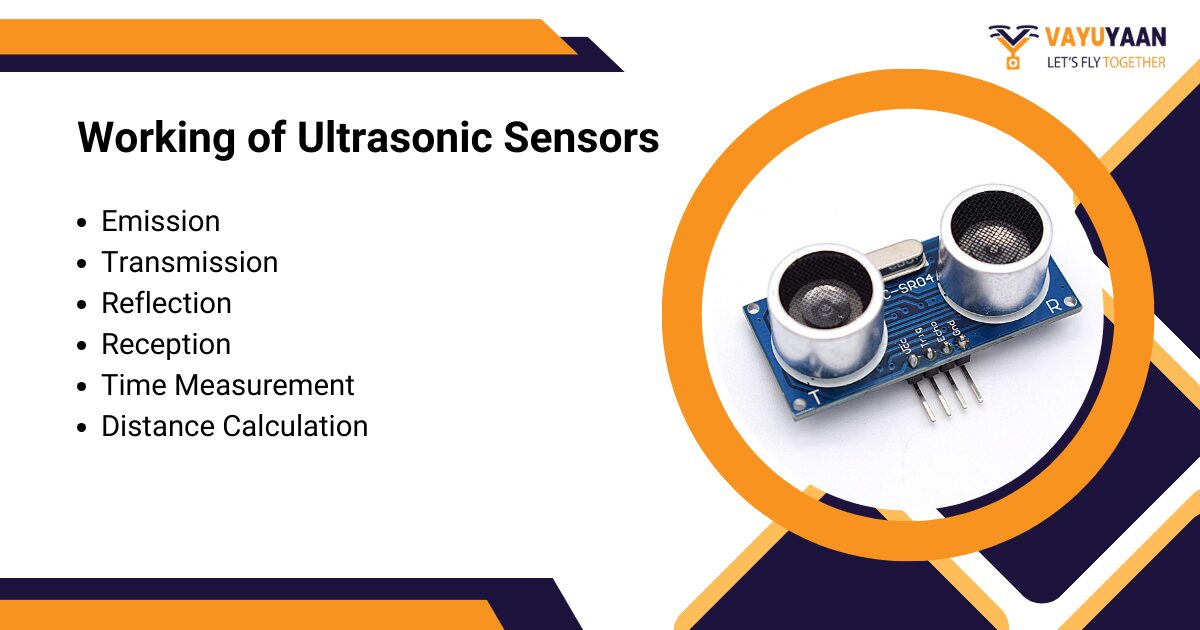
Distance = (Speed of Sound × Time) / 2
Applications of Ultrasonic Sensors
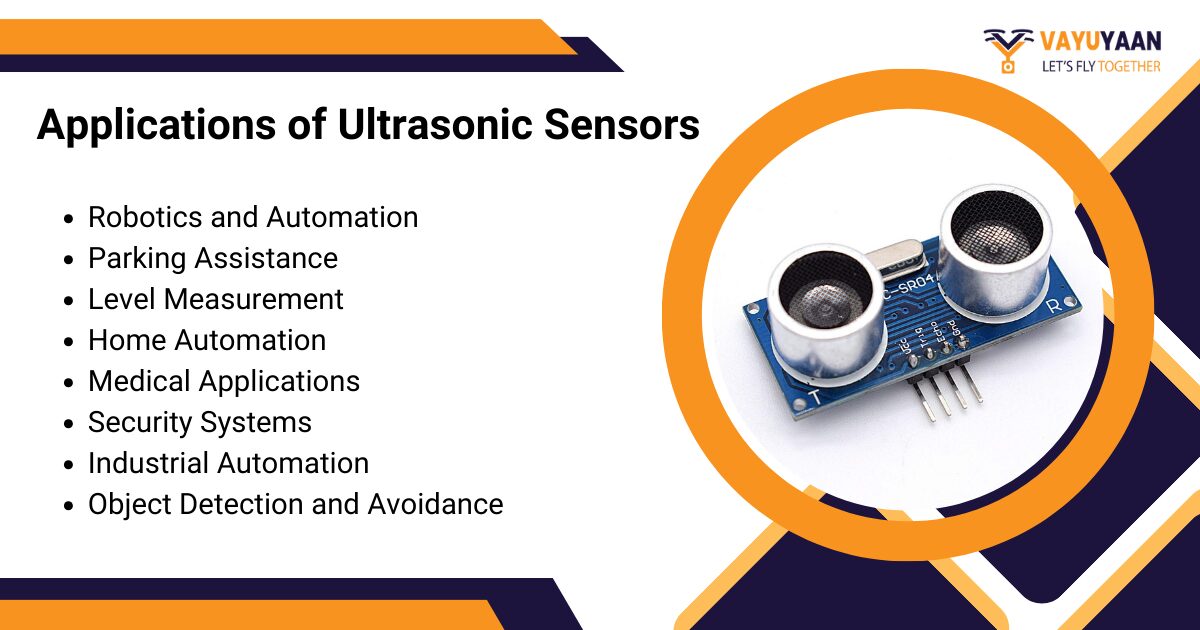
Ultrasonic sensors are of dimensional use in various industries and fields because of their multifaceted nature and reliability. Some common applications include:
- Robotics and Automation: Almost all modern industrial robots, autonomous vehicles, and machine systems use ultrasonic sensors. Additionally, ultrasonic sensors in robotics play a crucial role in detecting obstacles and measuring distances, enhancing robot navigation capabilities.
- Parking Assistance: Currently, various vehicles use ultrasonic sensors in their parking assistance systems to detect obstacles, aiding drivers in parking more effectively and safely.
- Level Measurement: Industries employ these ultrasonic sensors for measuring levels in tanks, solids, silos, and containers.
- Home Automation: Today, Home automation systems have more ultrasonic sensors for occupancy detection, movement sensing, and security monitoring.
- Medical Applications: In healthcare, ultrasonic sensors are successfully used for noninvasive distance measurements. Additionally, they perform tasks like monitoring respiration rates and detecting breathing obstacles.
Types of Ultrasonic Sensors
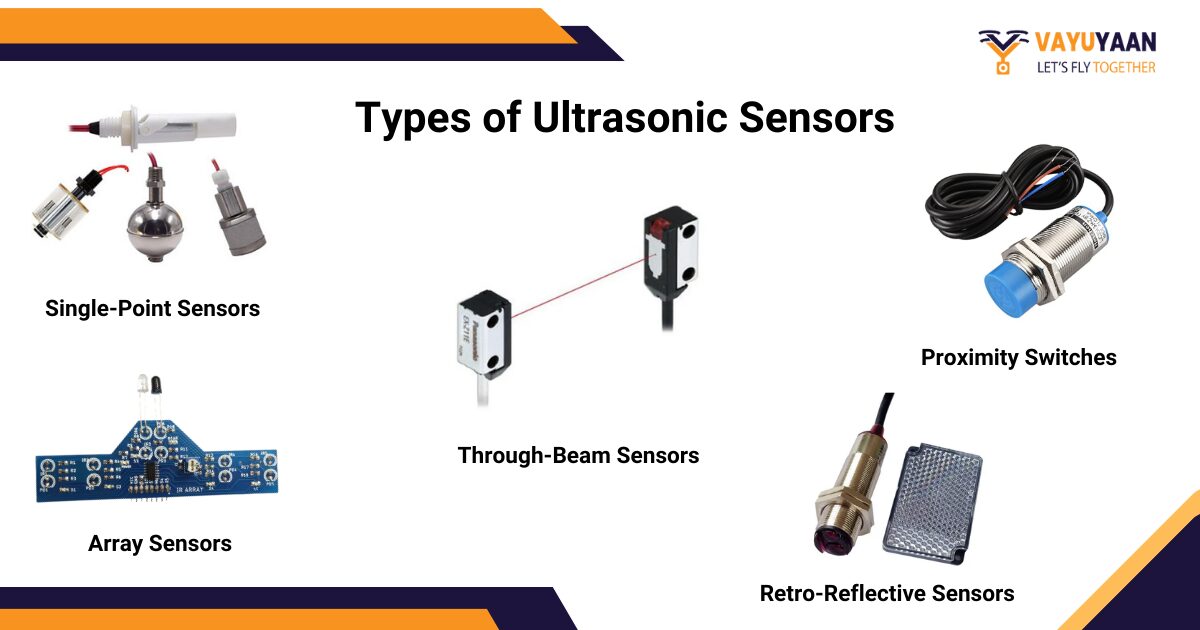
Although ultrasonic sensors share the same working principle, they are classified into multiple types based on their design, characteristics, and applications. Here are some common types of ultrasonic sensors:
- Single-Point Sensors: These sensors pinpoint the distance to any one point or object within their ultrasonic sensor range of vision. Most are used for proximity detection and distance measurement, especially in simple tasks.
- Array Sensors: The sensor array comprises several transducer elements organized in a specific array pattern. This configuration allows for measurements in multiple directions or creating three-dimensional environmental models. Additionally, these elements can be arranged in a specific array pattern, facilitating multiple-direction measurements or three-dimensional environmental modeling.
- Proximity Switches: These devices use ultrasonic waves to detect objects. They integrate both the transmitter and receiver. The ultrasound is reflected directly back to the receiver from the object to measure distance. Furthermore, the transmitter emits ultrasonic waves while the receiver detects the waves reflected off objects.
- Retro-Reflective Sensors: Retro-reflective sensors are designed to detect objects based on the reflection principle. These sensors emit a beam of light, typically infrared, towards a reflector opposite them. When an object interrupts this beam by passing between the sensor and the reflector, the sensor detects the object’s presence.
- Through-Beam Sensors: Unlike through-beam sensors, which have independent sender and receiver units, each one is responsible for sending and receiving the specified ultrasonic waves that travel through the air or some other medium to get to the receiving unit.
How Ultrasonic Sensors Calculate Distance
At the heart of an ultrasonic sensor’s operation lies a simple yet ingenious principle: how a sound wave takes the time to reach an object and return. The radar can determine the object’s position by measuring this time interval and the speed of the traveling medium (typically the air). However, the radar can only determine this with an error of several feet from its actual position.
The formula used to calculate the distance is based on the relationship between the speed of sound, time, and distance given below.
Distance = [Speed of Sound × Time] / 2
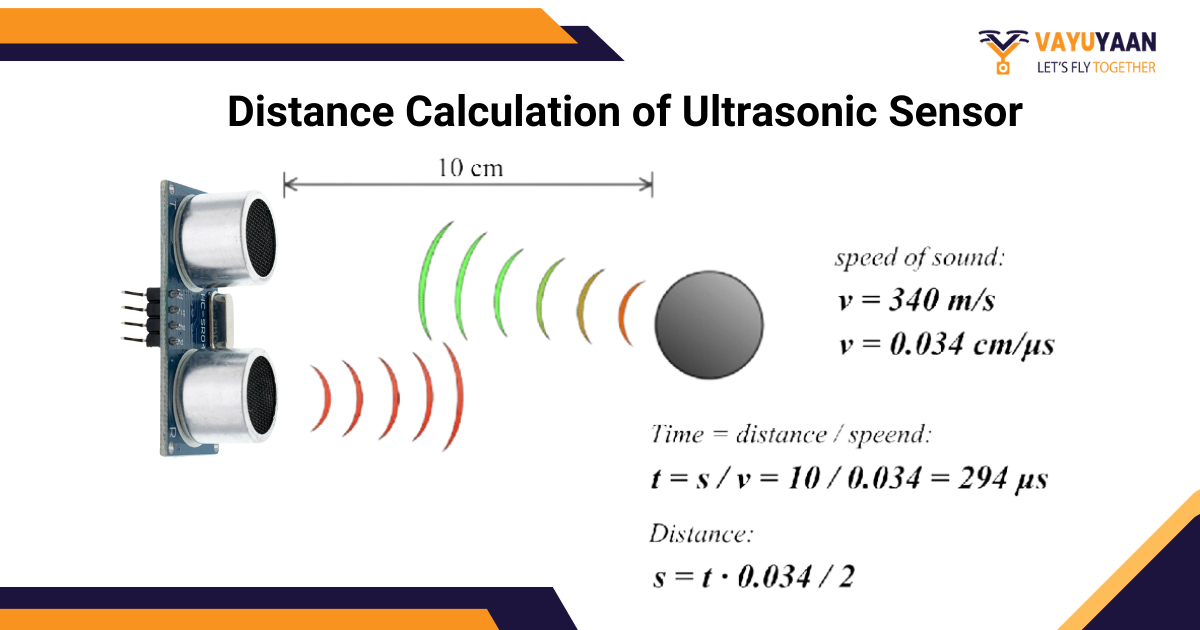
Here’s a breakdown of how this formula works
- Speed of Sound: Constantly known is a material’s sound speed. Under dry air at room temperature (68°F or 20°C), the atmospheric sky’s sound speed is approximately 343 meters per second. This is equivalent to 1,125 feet per second.
- Time: The sensor uses time definition to receive ultrasonic waves, travel to the object, and return, and it normally measures in microseconds.
- Multiplication by Speed of Sound: The actual time is multiplied by the speed to determine the overall distance where the sound wave is propagated.
- Division by 2: Thus, the sound wave divides the quantity of the distance by 2 as it travels to the object and then back, leaving the accurate distance to the object.
This formula makes the ultrasonic sensor highly accurate. It determines the distance by measuring the time for soundwave travel.
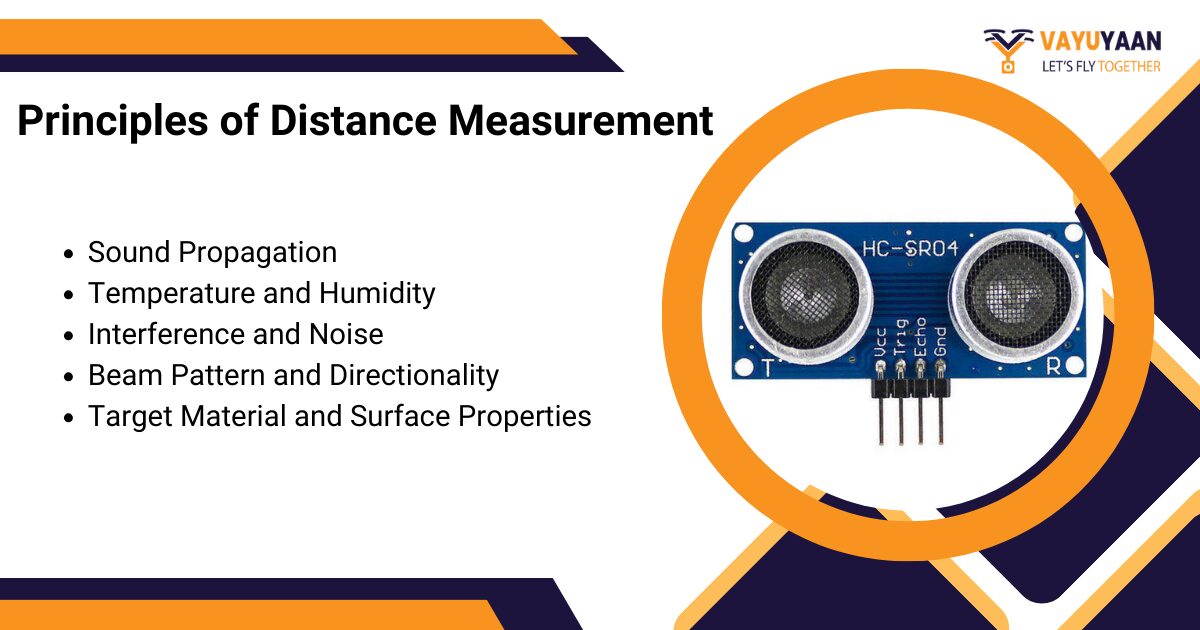
Principles of Distance Measurement
Although the ultrasonic ranging skill is simple, many factors will change the accurate and reliable measurement effect. This knowledge enables satisfying conditions on placed sensors and optimal performance results of ultrasonic sensors.
- Sound Propagation: Terms oscillations function differently in various media; traveling a particular distance can convey inaccurate information. The speed of sound produces different results when considering air, water, or any solid material as the medium.
- Temperature and Humidity: Environmental parameters such as temperature and humidity influence the pace of sound. These factors introduce minor discrepancies in distance measurements.
- Interference and Noise: Ultrasound sensors are susceptible to interference from outside signal sources, including another ultrasonic device or environmental noise, which decreases measurement accuracy.
- Beam Pattern and Directionality: Ultrasonic sensors have a unique radiation pattern and lens system, which define a specific angle or area for effective object perception. This characteristic is closely tied to both sensor installation and data processing.
- Target Material and Surface Properties: The direction of the reflected wave can be influenced by the material and surface conditions of the target object. Consequently, this may cause deviations from the actual range of the ultrasonic sensor.
By implementing these principles into your design, you can maximize the utility of the ultrasound sensor. Additionally, considering the possible sources of errors or interferences can help obtain many more accurate and reliable measures.
Choosing the Right Ultrasonic Sensor
The number of ultrasonic sensors in the market today may be too many to pick the exact one simultaneously. undefined
- Operating Range: This ultrasonic sensor can detect objects only a few centimeters away, unlike other sensors with a range of 2-3 meters. Determine the distance ranges for your application. See if the selected sensor range works and exceeds the required distances.
- Beam Pattern and Angle: Choose a sensor with either a narrow or wide beam and the ability to detect objects at an angle. Sensors with the beam function that hit the target zone will provide you with the intended area.
- Resolution and Accuracy: We’ll find the precise distance ultrasonic sensors can sense with different resolutions for accurate readings. Some require specific configurations for applications to work and provide actual results.
- Environmental Factors: Recommend using resistive sensors if your application employs them on sites containing rough surfaces and extremely high temperatures, humidity, or noise.
- Interface and Compatibility: When setting up, connect the ultrasonic sensor to your system or microcontroller for proper operation. The interface requires analog, digital, I2C, and serial ports, for instance.
- Power Requirements: Various types of ultrasonic sensors have different electric power needs, ranging from battery-operated to low-power, suiting diverse applications.
- Size and Form Factor: Using an ultrasonic sensor will depend on your project’s available space constraints. As such, you will consider using tiny or ultra-ranged sensors that fit into small spaces.
- Cost: The cost of ultrasonic sensors varies depending on brand, features, and quality. Prices can range from a few dollars to over a hundred dollars. To choose the right ultrasonic sensor, check the Ultrasonic sensor price and features to match your needs and budget.

Conducting a thorough system requirement analysis helps in selecting the best ultrasonic sensor. This ensures optimal performance and resilience.
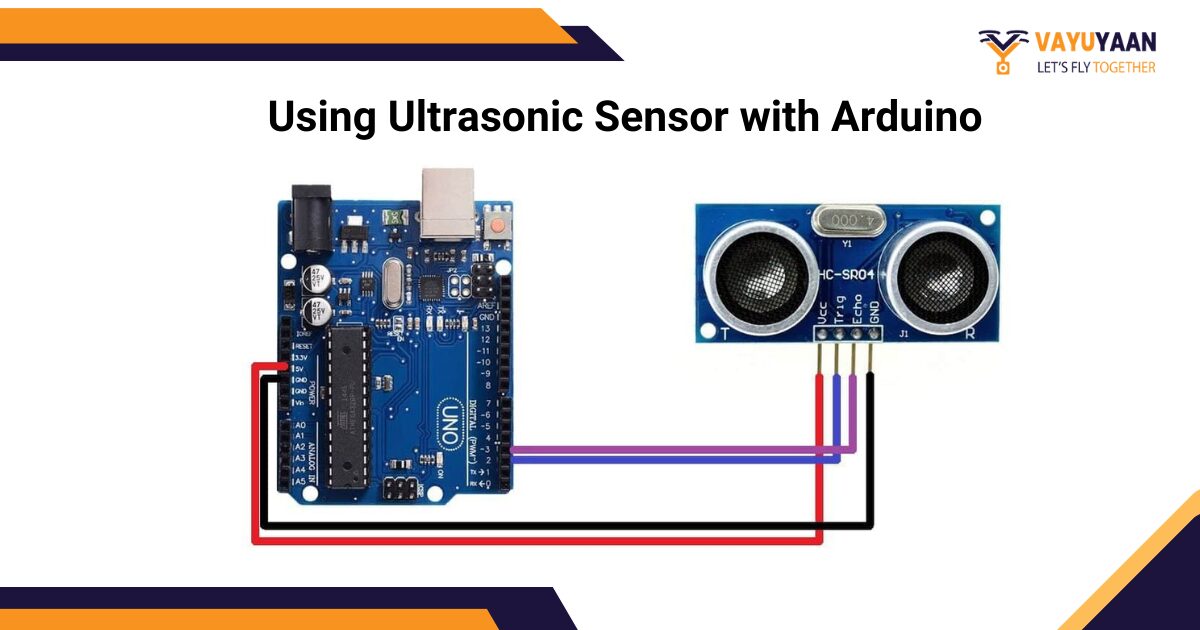
How to Use Ultrasonic Sensors with Arduino
The Arduino microcontroller with an ultrasonic sensor is one of the most common platforms. It is used worldwide to work with ultrasonic sensors. The Arduino boards provide a user-friendly and readily usable way to integrate ultrasonic sensors. These sensors can fit virtually every project genre, such as robotics, home automation, and educational purposes.
Hardware Setup:
- Connect the ultrasonic sensor Arduino board based on the diagram of the sensor pinout. Normally, you will have to connect the sensor’s VCC pin to the Arduino’s 5V pin, the GND pin to the Arduino’s GND pin, the Trig (Trigger) pin to a digital output pin, and the Echo pin to a digital input pin.
- Attach the ultrasonic sensor according to the wiring instructions for your selected model.
Software Setup:
- (Note: If Arduino IDE doesn’t already exist on your computer, you may need to install it.)
- Go to the ultrasonic sensor Arduino IDE and choose to write a new sketch (program).
- Have the necessary libraries for your ultrasonic sensor incorporated into your program. For example, getting the NewPing library version of the commonly used hc sr04 ultrasonic sensor will work.
Writing the Code:
- Put the Trig and Echo lines in your sketch.
- Instantiate ultrasonic sensor objects using the library and construction routine.
- Start the serial communication in the setup() function (if you want to print distance values to the serial monitor), and make the Trig pin an output.
- In the loop() function, invoke the sensor’s library functions to emit the sound wave and have it return. Then, calculate the distance by employing the time the wave occurred.
- Use the calculated distance to the serial monitor in your program logic.
Uploading and Testing:
- Connect the Arduino board to your computer via a USB cable.
- Compile and upload the sketch to the Arduino board.
- Open the serial monitor in the Arduino IDE to view the distance measurements.
- You can test the ultrasonic sensor by placing objects at various distances. Observe the distance values shown on the screen’s serial monitor.
Here’s a basic example code snippet for using the HC-SR04 ultrasonic sensor with an Arduino:
This code illustrates the fundamentals of using an ultrasonic sensor Arduino. You can modify and expand the code if you work on a specific project requiring distance-based programming. You can also use it to control actuators or motors and integrate the sensor into a larger system.
Conclusion
Ultrasonic sensors have surely changed how we measure distances and interact with nature. From passive closeness to advanced robotics and automation, they have become a significant part of modern technology.
In this introductory guide, we’ve covered the fundamental aspects of ultrasonic sensors, including their working principles, types, and applications. Moreover, we’ve delved into the specifics of distance calculation, highlighting its importance in understanding these sensors. Also, observe while choosing an ultrasonic sensor for your project.
We’ve gone over how to interact with an ultrasonic sensor and Arduino, the most common means of distance measurement. We’ve also covered its application in object detection for various projects and purposes. These sensors excel in accuracy, versatility, and simplicity. They empower you to innovate solutions that improve the world.


One thought on “Ultrasonic Sensor – A Quick Start Guide for Beginners”
Comments are closed.