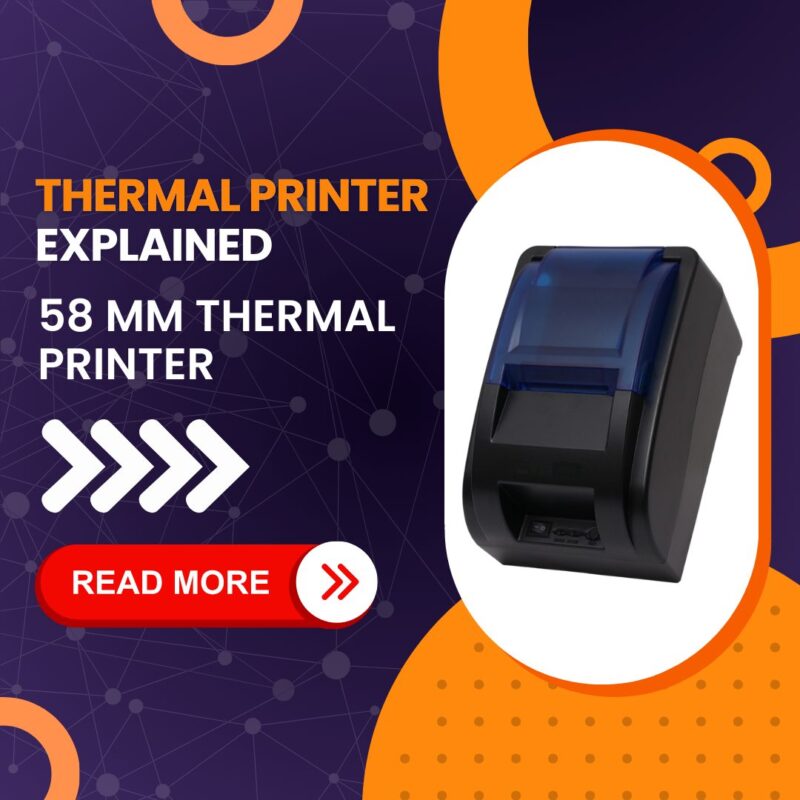
Setting up a 58mm thermal printer is simple and allows you to print receipts and labels efficiently. Refer to the 58mm Thermal Printer Driver – Installation Guide for detailed instructions on setting up your printer driver. In this guide, we’ll walk you through each step using easy-to-follow instructions. Whether you’re using it for your business or personal needs, you’ll be up and running in no time. Let’s get started!
Introduction of 58mm Thermal Printer
A 58mm receipt printer is a special kind of printer that’s not like the regular ones you might have at home or in school. It’s called that because it’s a bit smaller, about 58 millimeters wide. People often use these printers in places like shops and restaurants to print out things like receipts. They work by using heat to make marks on special paper. This makes them fast and efficient. So, when you buy something and get a little paper with all the details, it most likely came from a 58mm thermal printer. Discover the innovative applications and cost-saving benefits of thermal printers in various industries by exploring our detailed analysis in our other blog.
How to Install a 58mm Thermal Printer
To install a 58mm thermal printer, you will need to follow these steps:
- Start by unpacking the printer and all its accompanying components, such as the power cord, interface cable, and driver software.
- Connect the power cord to the printer and plug it into a nearby outlet.
- Connect the interface cable to the printer and your computer. The interface cable is typically a USB cable, but depending on your printer model, it could also be a serial or parallel cable.
- To begin, install the printer driver software on your computer. Typically, the manufacturer includes the driver software on a CD accompanying the printer. However, if you prefer, you can opt to download it from the manufacturer’s website. Make sure to follow the instructions provided to successfully install the driver carefully.
- After installing the driver, you can test the printer by printing a test page. On a Windows computer, you can do this by going to Start and then navigating to Devices and Printers. Right-click on the printer, select “Printer properties,” and click the “Print Test Page” button. On a Mac, you can do this by going to System Preferences and then navigating to Print and Scan. Select the printer, and click the “Open Print Queue” button. Finally, click on the “Print Test Page” button.
- You have successfully installed and set up your printer once the test page prints correctly. If you have any issues with the installation process or the printer is not functioning properly, consult the printer’s documentation. Alternatively, you can contact the manufacturer for support.

If you want to buy a 58mm Thermal Printer, click the link below.
58mm Thermal Printer Driver Windows 10
Learn how to install the 58mm thermal printer driver on a Laptop on Windows 10 with our simple video guide! Installing the driver is easy, and our step-by-step instructions make it even easier. First, download the driver software from the manufacturer’s website. Next, open the downloaded file and follow the on-screen instructions to install the driver. Once the installation is complete, connect your thermal printer to your laptop using a USB cable. Your laptop should automatically detect the printer. Finally, set your thermal printer as the default printer in your laptop’s settings. Now you’re ready to start printing! If you encounter any issues during the installation process, don’t worry. Our video guide will help you troubleshoot and resolve any problems. Watch our video today and start printing with your 58mm thermal printer on Windows 10 in no time!
Conclusion
In conclusion, installing a 58mm thermal printer is a straightforward process that can greatly benefit your printing needs. By following the step-by-step instructions provided, you can have your printer up and running in no time. Learn how the 58mm Thermal Receipt Printer works with the comprehensive explanation provided in Thermal Printer Explained – 58mm Thermal Receipt Printer. Remember to be patient and thorough in each step. Now that you have successfully installed your printer, you’re ready to enjoy its efficient and reliable performance for all your printing tasks. Happy printing!


