Creating your own drone with an F450 Quadcopter Frame is an exciting project that can be both rewarding and educational. To start, assemble the frame according to the manufacturer’s instructions, ensuring the arms are securely attached to the centre plate. Next, mount the brushless motors on each arm, aligning them properly and securing them with motor mounting screws. Connect the Electronic Speed Controllers (ESCs) to the motors, following the rotation direction (clockwise or counterclockwise) for each motor. Then, install the flight controller in the centre of the frame, using vibration-damping materials to reduce vibrations. Connect the ESCs, receiver, and other peripherals to the flight controller as per the manufacturer’s guidelines. Once everything is connected, calibrate the flight controller and ESCs and test the drone in a safe, open area. Make any necessary adjustments and enjoy flying your custom-built drone!
Drones are a new breed of RC plane that can take photos and record amazing videos during flight.
Most people will buy a drone. However, people who like do-it-yourself projects may enjoy building these devices from scratch. If you also like this craft, you can buy drone kits and enjoy piecing them together like a Lego puzzle.
This article will take you through the basic steps of building a drone from scratch. As expected, this can be an extremely complicated project, depending on the type of drone you want to build and the materials necessary. This article will take you through a general outline of what it looks like to make a DIY quadcopter drone, and hopefully, this will help you understand whether you truly want to take on this project. No one is saying it is going to be easy, but some people find that the end satisfaction is more than worth it!
Basic Parts You Need to Make a Drone
When embarking on the exciting journey of building your own drone, understanding the basic components is essential. The frame serves as the foundation, providing structural integrity and housing for other parts. Pairing the frame with reliable 1000kv BLDC Motors ensures efficient propulsion, while Electronic Speed Control units manage motor speed and direction. Propellers, available in various sizes and pitches, are crucial for generating lift and thrust. Connectors facilitate seamless integration between components, enhancing overall functionality. The Power Distribution Board efficiently distributes power from the batteries to all drone components. Speaking of batteries, selecting the right one is crucial for optimal performance and flight time. A Battery Monitor adds an extra layer of safety by keeping tabs on battery health.
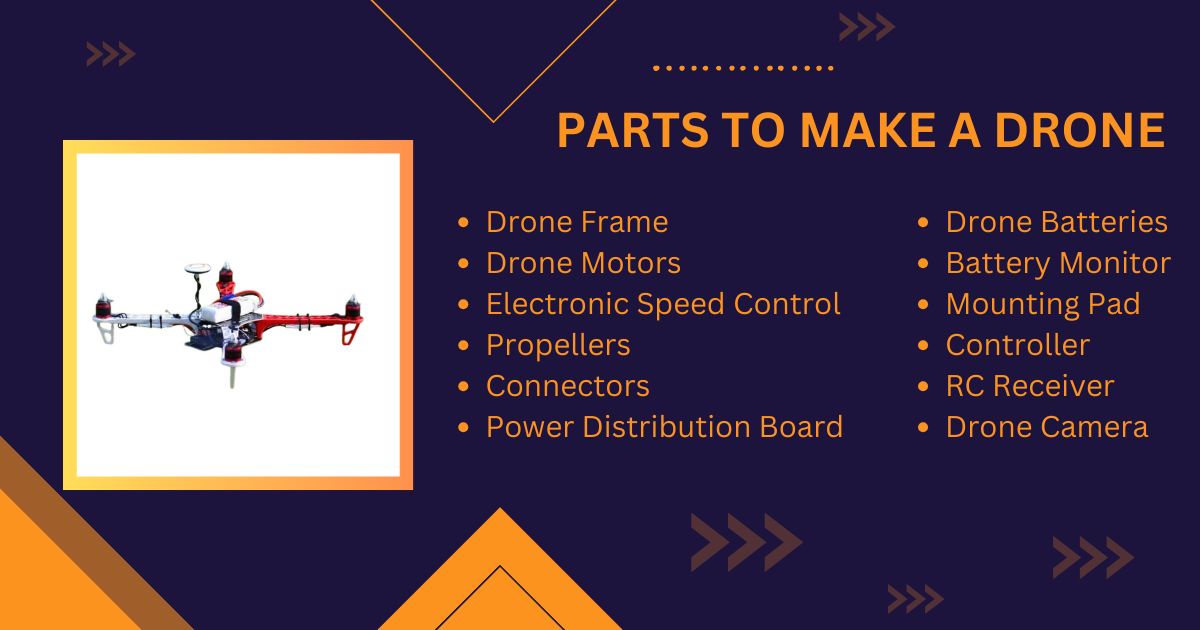
A Mounting Pad reduces vibrations, protecting sensitive electronics. The Controller, along with the RC receiver, provides manual control over the drone’s movements. For those interested in aerial photography, adding a drone camera can elevate your drone’s capabilities. Lastly, a USB key can be handy for storing and transferring flight data and settings. By assembling these components thoughtfully, you’ll be well on your way to creating a drone that meets your needs and performs reliably. Explore DIY Drone – Exciting Guide to Building Your Drone for step-by-step instructions, expert tips, and a list of essential components needed for a successful drone-building adventure.
Drone Frame
When it comes to choosing a frame for your drone, the F450 frame is a popular choice due to its durability and versatility. There are two main options for acquiring an F450 frame: you can either purchase one from an online store or build it yourself.
If you decide to buy an F450 frame, there are many high-quality options available online. To help you choose the best one for your needs, we recommend checking out our article on the best F450 drone frames. This article provides a comprehensive review of top-rated frames, highlighting their key features and benefits.
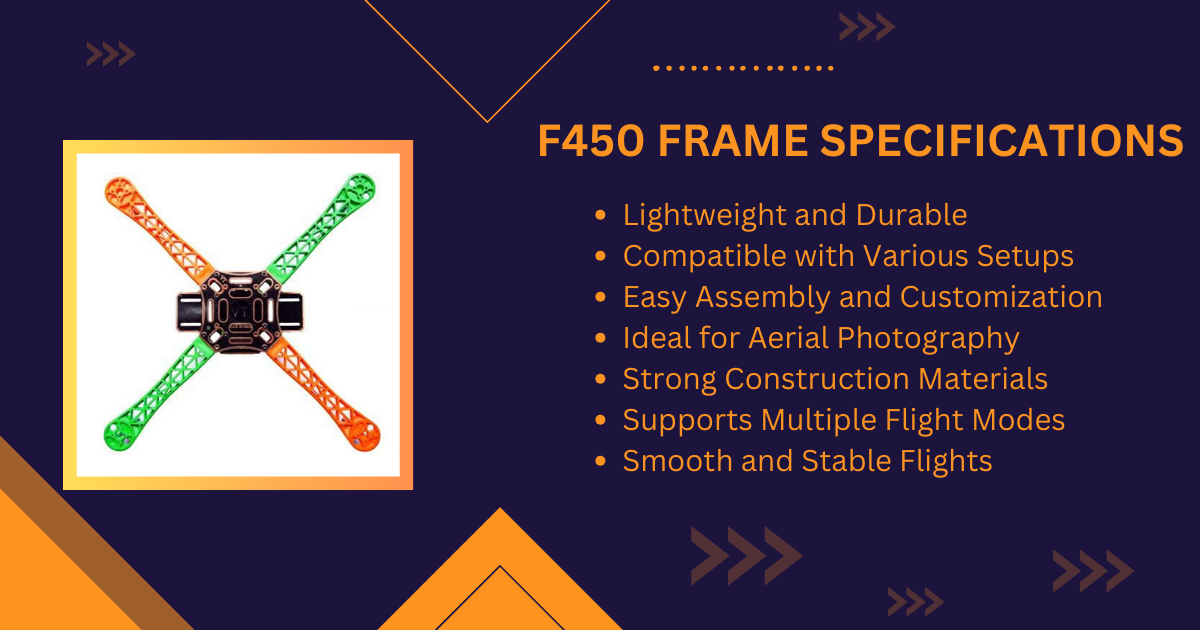
On the other hand, if you prefer to build your own F450 frame, the process is not overly complex but does require some engineering knowledge and familiarity with the materials you plan to use. For example, you can construct your frame using lightweight metals, plastic, or even wood slats. If you opt for a wooden frame, ensure the wood board you select is approximately 2.5 cm thick for optimal durability and stability.
Whether you choose to purchase an F450 frame or build one yourself, it’s essential to consider your specific needs and preferences to ensure you select or create a frame that meets your requirements.
Drone Motors
When building a quadcopter, you’ll typically require four motors, while an octocopter demands eight. It’s advisable to opt for brushless motors due to their efficiency in power consumption. Unless you possess advanced knowledge of motor functionality, it’s recommended to purchase these components from a reputable store to ensure quality and compatibility with your drone. To gain a deeper understanding of brushless motors, consider exploring our comprehensive article on the subject.
Brushless motors, such as the 1000kv brushless motor, offer several advantages, including higher efficiency and lower maintenance requirements compared to their brushed counterparts. These motors are specifically designed for drone applications, providing the optimal balance between power and weight. Understanding the intricacies of brushless motors is crucial for drone enthusiasts, as it can significantly impact the performance and longevity of their aerial vehicles.
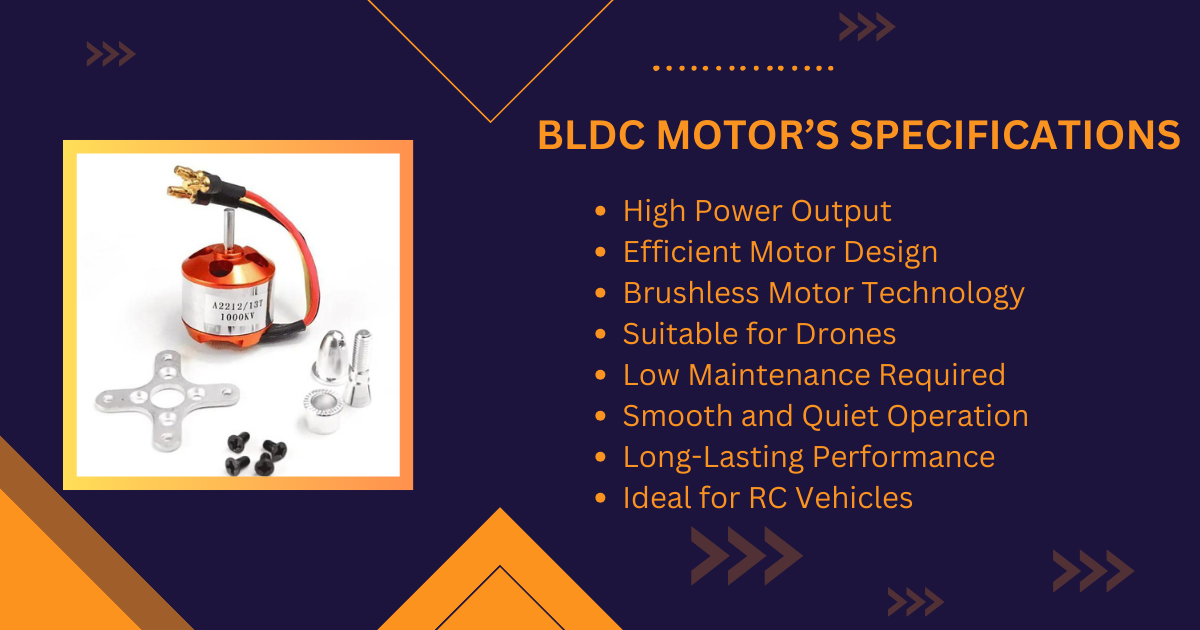
In conclusion, when building or upgrading your drone, investing in high-quality brushless motors like the 1000kv motor is essential for achieving optimal performance and efficiency. Whether you’re a beginner or an experienced drone pilot, understanding the importance of brushless motors and their role in your drone’s performance is key to a successful and enjoyable flying experience.
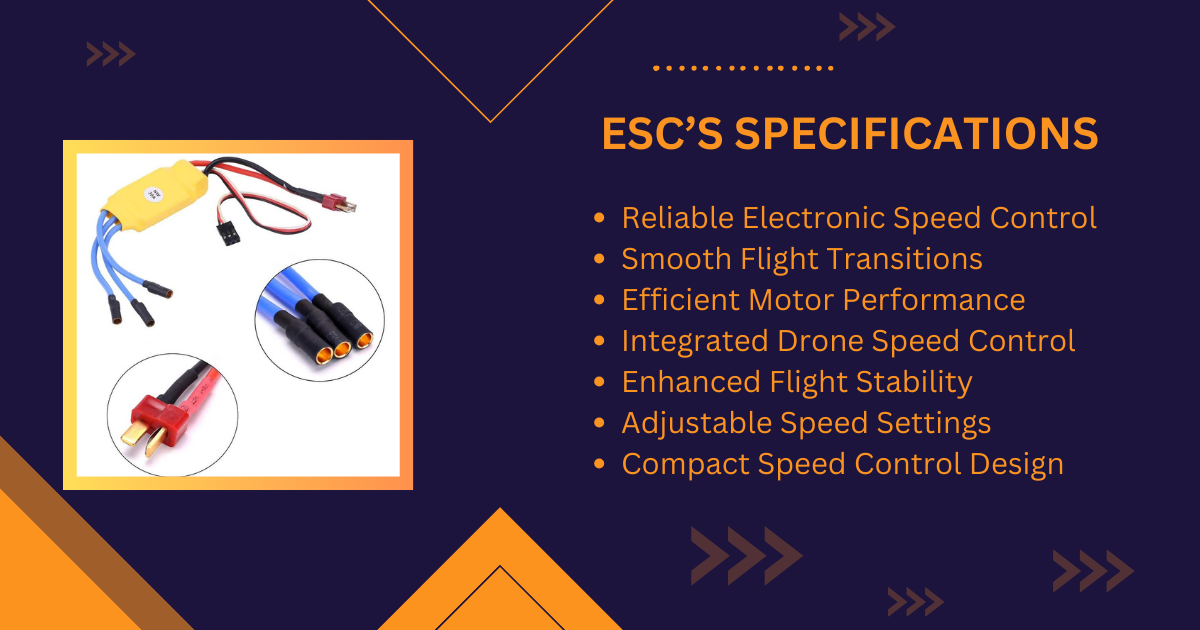
ESCs or Electronic Speed Control
Electronic Speed Controllers (ESCs) are crucial components of any drone, responsible for delivering power to the motors. The number of ESCs needed depends on the number of arms your drone has. For example, a quadcopter with four arms would require four ESCs.
When selecting ESCs for your drone, it’s important to consider their amperage rating. 30A ESCs are a common choice for many drone builds. The amperage rating indicates the maximum current that the ESC can handle, ensuring that it can provide enough power to the motors under load.
Additionally, ESCs play a key role in the overall performance and stability of your drone. They help regulate the speed and direction of each motor, allowing for precise control during flight.
When installing ESCs, ensure they are properly calibrated and configured to work with your flight controller. This includes setting the correct motor direction and throttle range to ensure smooth and stable flight performance.
In conclusion, 30A ESCs are essential components of a drone, providing power and control to the motors. Their selection and installation are critical for the overall performance and stability of your drone.
Propellers
When selecting propellers for your drone, it’s crucial to ensure they match the frame size and type for optimal performance. While wooden propellers are uncommon for drones, it’s essential to choose propellers made from durable materials that suit your needs.
The 1045 propeller, also known as the 10-inch propeller or 1045R propeller, is a popular choice for many drones. These propellers are known for their balance of size, weight, and efficiency, making them suitable for a wide range of drone applications.
When choosing 1045 propellers, consider factors such as material composition, blade design, and compatibility with your drone’s motor and frame. Carbon fibre and nylon are common materials for drone propellers, each offering its benefits in terms of durability and performance.
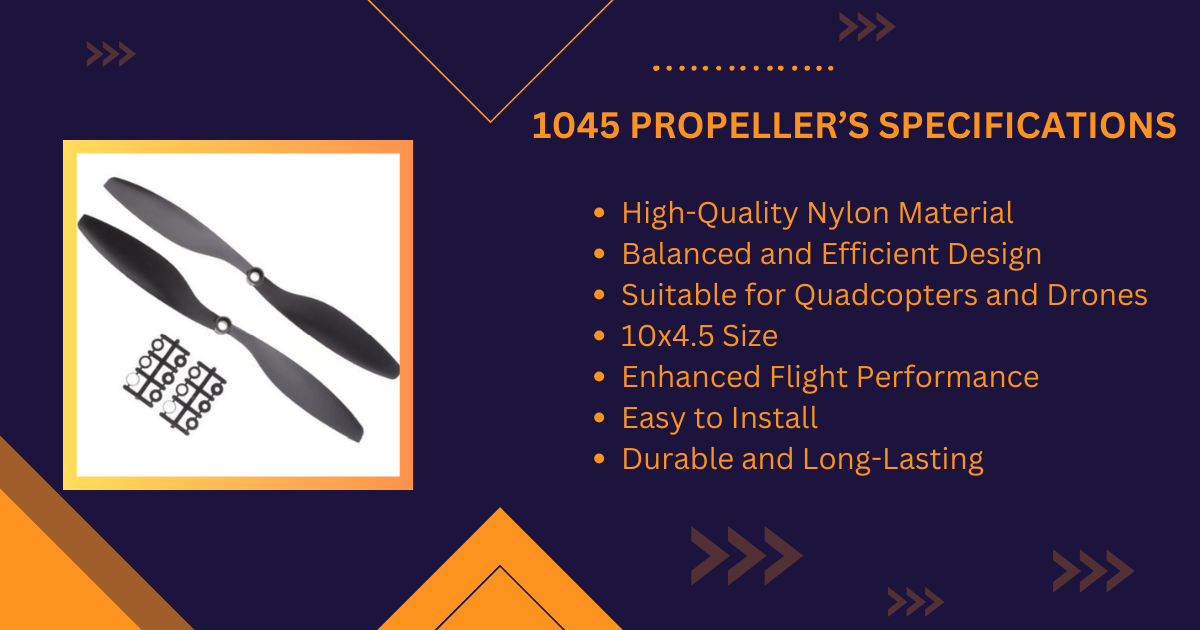
Before purchasing, ensure that the propellers you choose are compatible with your drone’s frame and motor specifications. Additionally, consider factors such as the number of blades, pitch, and rotation direction to achieve the desired flight characteristics for your quadcopter.
In conclusion, selecting the right propellers for your drone is crucial for achieving optimal performance. By considering factors such as material, size, and compatibility, you can ensure that your drone operates efficiently and effectively.
Connectors
It’s essential to have the right connectors on hand to ensure proper connectivity in your drone assembly. For welding the motors and electronic speed controllers (ESCs), you’ll need 3.5 mm connectors. These connectors provide a secure and reliable connection, crucial for the smooth operation of your quadcopter.
Additionally, the power distribution board (PDB) requires 4.5 mm connectors. These connectors are specifically designed to handle the PDB’s higher power requirements, ensuring efficient power distribution throughout your drone system.
By using the correct connectors for each component, you can ensure a reliable and robust electrical connection, minimize the risk of malfunctions and ensure optimal drone performance.
Power Distribution Board
The Power Distribution Board (PDB) is a crucial component in any multirotor or drone setup. It serves as the central hub that connects the electronic speed controllers (ESCs) to the battery. Its primary function is to distribute power from the battery to the ESCs, ensuring smooth and efficient motor operation.
One key advantage of using a PDB is its ability to simplify wiring and reduce the risk of electrical issues. By consolidating all power connections to a single board, the PDB helps minimize clutter and confusion, making it easier to build and maintain your drone.
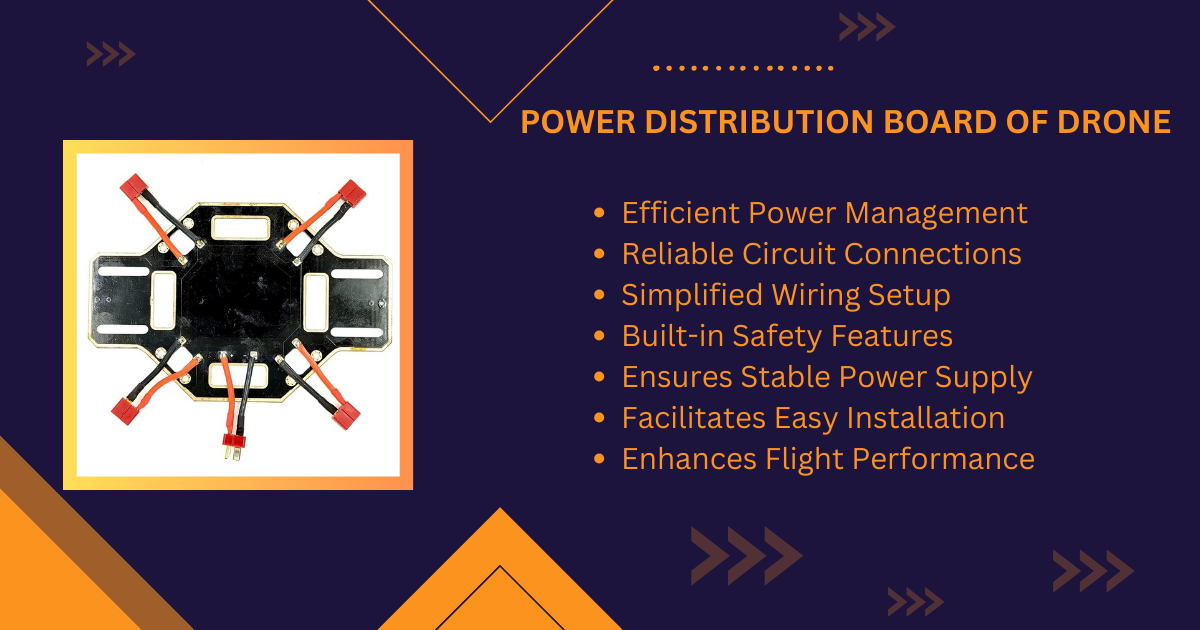
In addition to its basic functionality, many modern PDBs offer additional features such as voltage regulation, current monitoring, and even integrated LED lighting. These advanced features not only enhance the performance of your drone but also provide valuable data for monitoring and troubleshooting.
When choosing a PDB for your drone build, consider factors such as the number of ESCs it supports, the input voltage range, and any additional features you may require. Additionally, selecting a PDB that is compatible with your flight controller and other components will ensure seamless integration and optimal performance.
In conclusion, the Power Distribution Board plays a vital role in ensuring the reliable and efficient operation of your quadcopter. Connecting the ESCs to the battery provides a centralized power distribution solution that simplifies wiring and reduces the risk of electrical issues. With its additional features and compatibility with other components, the PDB is an essential component for any drone builder looking to optimize their aircraft’s performance.
Drone Batteries
When selecting batteries for your drone, it’s crucial to consider both the capacity and type of battery. Among the most popular choices for drone batteries are Lipo batteries, which offer varying power capacities. For a more in-depth understanding of this subject, we highly recommend exploring our comprehensive article on drone batteries.
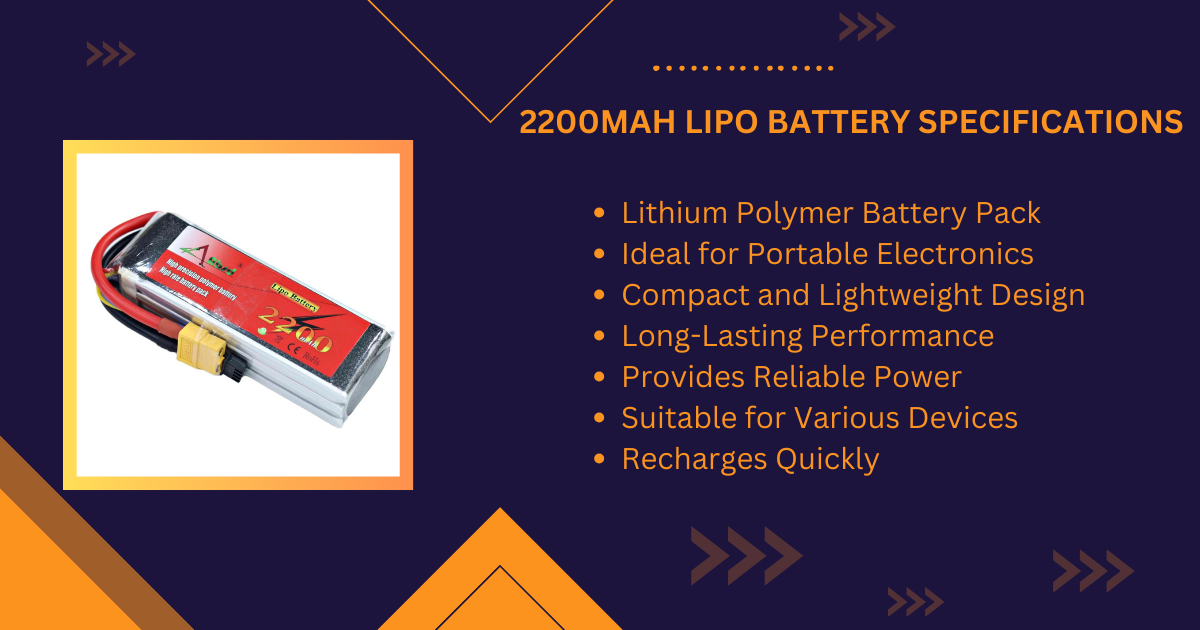
For instance, an 11.1V 2200mAh Lipo battery is a common choice for many drones. These batteries provide a balance of power and weight, ideal for a range of drone sizes and applications. Additionally, ensuring you have a suitable 2200mAh Lipo battery charger is essential for maintaining your batteries and ensuring they perform optimally.
Understanding the specifications and features of your Lipo battery is key to maximizing your drone’s performance and longevity. With the right battery choice and care, you can enhance your drone’s capabilities and enjoy longer flight times.
Battery Monitor
A crucial component for any DIY drone enthusiast, a battery monitor is not just an optional add-on but a vital safety feature. Imagine flying your drone, only to realize mid-air that the batteries are running dangerously low. With a battery monitor, you can avoid such nerve-wracking situations.
A battery monitor serves as a reliable indicator, alerting you when the battery levels are getting low. This early warning system ensures that you can safely land your drone before it runs out of power unexpectedly. Whether you’re capturing breathtaking aerial footage or exploring new heights, a battery monitor provides peace of mind, ensuring your drone won’t be stranded in inconvenient or risky locations.
When building your DIY drone, don’t overlook the importance of a battery monitor. It’s a small investment that can save you from the frustration and potential loss of an uncontrolled landing. Stay informed, stay safe, and enjoy uninterrupted flights with a reliable battery monitor by your side.
Mounting Pad
Mounting pads are essential components for DIY drones, reducing vibrations to enhance flight performance. These pads play a significant role, particularly for those looking to capture high-quality pictures or videos with their drones. By minimizing vibrations, mounting pads help stabilize the drone during flight, resulting in smoother and clearer footage. Incorporating mounting pads into your DIY drone build can significantly improve its overall performance, making it an invaluable addition for aerial photography and videography enthusiasts.
Drone Flight Controller
The flight controller is a crucial component of a DIY drone, serving dual functions by both distributing power and issuing commands to the motors. As the brain of the drone, it orchestrates the flight dynamics, ensuring stability and control in the air. This device acts as the intermediary between the pilot’s input and the drone’s response, translating commands into precise movements.
In the realm of DIY drones, the controller plays a pivotal role in customizing and optimizing the drone’s performance. With the right controller, drone enthusiasts can fine-tune flight parameters, adjust control sensitivity, and even implement advanced flight modes for aerobatics or specialized missions.
Whether you’re an aspiring drone builder or a seasoned DIY enthusiast, selecting the right controller is essential for achieving your desired drone performance. Be sure to research and choose a controller that matches your skill level and project requirements, as it can significantly impact the overall flight experience of your DIY drone.
RC Receiver
Understanding the role of the RC receiver is crucial when embarking on a DIY drone project. A vital component, the RC receiver wirelessly receives signals from your transmitter, allowing you to control your drone effectively.
In the world of DIY drone building, the RC receiver is like the bridge connecting your commands to the drone’s flight controller. It translates your control inputs—such as throttle, pitch, yaw, and roll—into actions, making it indispensable to your drone’s functionality.
When you’re out flying your DIY drone, your transmitter is your handheld controller. It communicates with the receiver on your drone via radio signals. This means that as long as you have your transmitter with you, the receiver mounted on your drone will pick up your commands, enabling you to pilot your creation with precision.
So, the next time you’re tinkering away on your DIY drone project, remember the importance of the RC receiver. It’s not just a component; it’s the key to turning your building efforts into a fully functional flying machine.
Drone Camera
A reliable RC receiver is essential for capturing stunning aerial photos and videos with your DIY drone. When choosing a camera for your drone, opt for one that can capture high-quality 4K videos. However, the best drone camera for you will depend on your specific needs and budget.
In addition to a quality drone camera, consider adding a gimbal to your setup for smooth and stable footage. A gimbal helps stabilize the camera, allowing you to capture professional-looking shots even in challenging flying conditions.
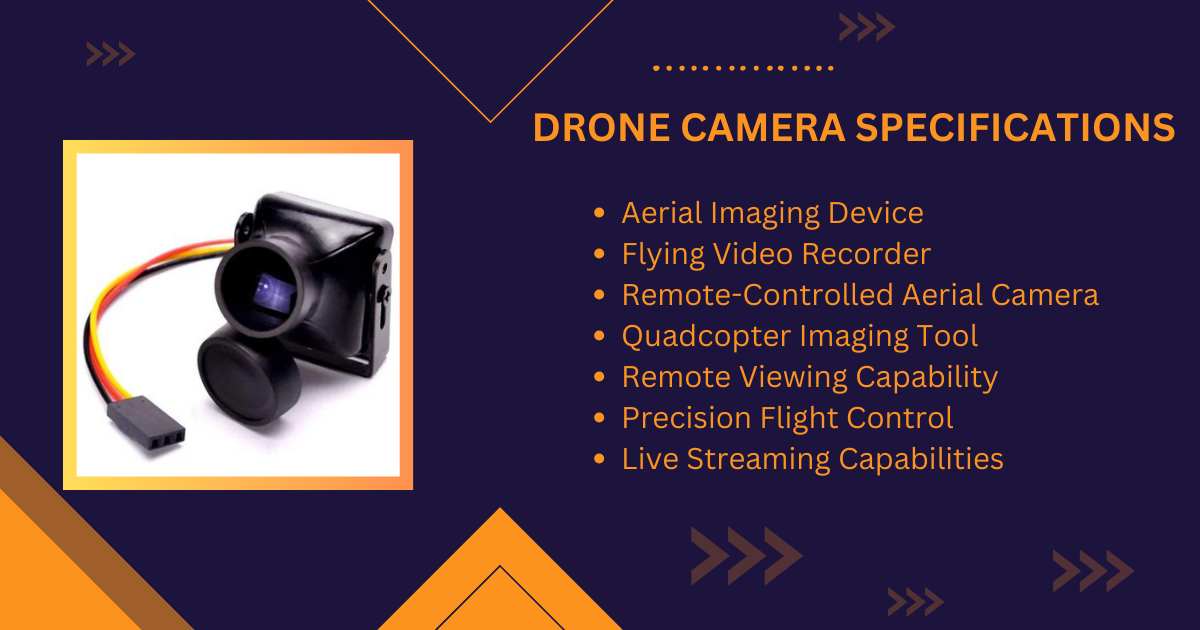
When building your drone, consider using a Raspberry Pi Camera or a Raspberry Pi USB Camera for your aerial photography needs. These cameras are compatible with Raspberry Pi boards and offer excellent image quality for their size and cost.
By selecting the right camera and accessories for your DIY drone, you can elevate your aerial photography and videography to new heights. Whether you’re capturing breathtaking landscapes or recording exciting aerial footage, a high-quality drone camera and gimbal are essential tools for any drone enthusiast.
USB Key
Looking to build a DIY drone with a camera? A crucial component you’ll need is a USB key to save all those breathtaking aerial photos and videos. But that’s just the beginning. To get your drone off the ground, you’ll also require AWG silicone wires, a battery charger, Servo lead wire cables, zip ties, 3M command strips, thread locking compounds, and more. These additional parts will help you customize your drone to your liking, making it more advanced and tailored to your needs.
Building a drone is a highly customizable process, and the components you need will depend on how DIY you want to go. However, there are countless ways to build a drone, and the steps can vary based on your preferences. Whether you’re a beginner or an experienced drone enthusiast, the guide below will provide valuable insights into the DIY process for building a quadcopter with a camera using components like the Raspberry Pi Camera or Raspberry Pi USB Camera.
Whether you’re looking to capture stunning aerial shots or enjoy the thrill of building your own drone, the journey is as rewarding as the destination. So, gather your tools, follow the guide, and soon you’ll be flying high with your very own DIY drone.
Step-by-Step Instructions to Build Your Drone
When it comes to building your own DIY drone, quadcopters are often a popular choice due to their efficiency and ease of flight. In this step-by-step guide, we’ll show you how to build a quadcopter using components that you can purchase separately.
Building a drone can be a rewarding and educational experience. By assembling your own quadcopter, you can customize it to suit your needs and learn more about drone mechanics. Plus, it’s a fun project for anyone interested in electronics and aviation.
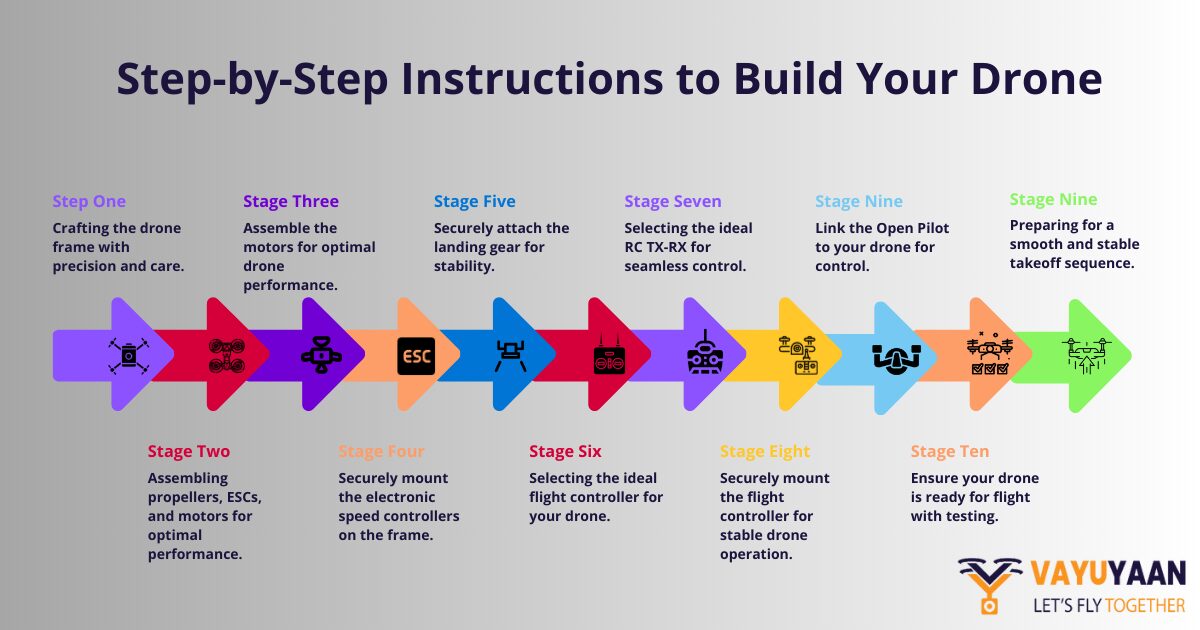
To start building your quadcopter, you’ll need a few key components: a frame, motors, propellers, electronic speed controllers (ESCs), a flight controller, a battery, and a radio transmitter and receiver. You can also add optional components like GPS modules or FPV cameras for additional features.
Once you have all your components, follow these steps to build your quadcopter:
STEP 1: Making the Frame
Crafting the frame is the crucial first step in building your DIY drone. The frame provides the structure and stability for your drone, so choosing the right materials and dimensions is key.
For a sturdy yet lightweight frame, consider using wood, metal, or plastic. Each material has its benefits, with wood offering ease of customization and affordability, while metal provides durability and strength. Plastic can be a good middle ground, offering both strength and flexibility.
If you opt for a wooden frame, start by selecting a wood board longer than 60 cm and about 25-30 mm thick. Cut this board into two laths, each 60 cm long and 30 mm wide. These laths will form the arms of your quadcopter.
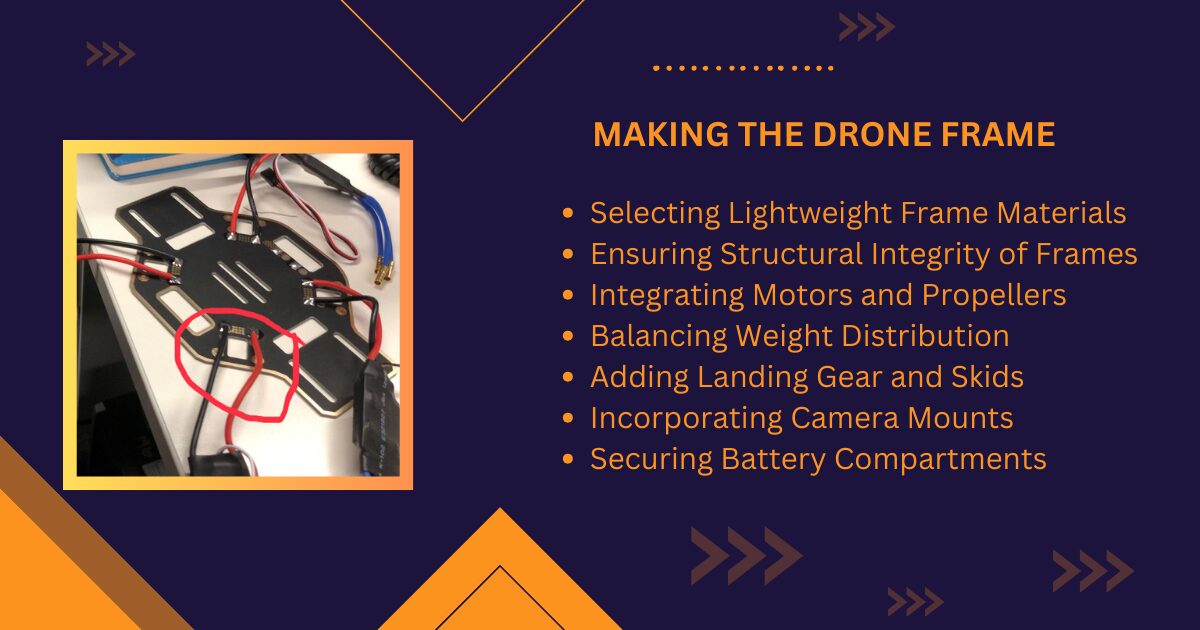
Next, cross the two laths to create an X frame. You’ll also need a wooden sheet to make a rectangular piece for the central part of the frame, measuring 6×15 cm and about 2 mm thick. This piece adds stability to the frame.
To assemble the F450 drone frame, use nails and glue to secure the parts together. The dimensions of metal or plastic frames are similar, but the assembly method will vary.
By following these steps, you can create a sturdy and reliable frame for your DIY drone. The frame is the foundation of your drone, so take your time to ensure it’s well-built and secure.
STEP 2: Propellers, Electronic Speed Controllers, and Motors
When it comes to building a drone, selecting the right propellers, electronic speed controllers (ESCs), and motors is crucial for optimal performance. These components work together to ensure your drone flies smoothly and efficiently.
For your drone to function properly, it’s essential to choose high-quality components from a reputable store. Look for ESCs, motors, and propellers that are compatible with your drone’s size and specifications. Components such as a 1000kv brushless motor, 30a ESC, and 1045 propeller are commonly used in drone builds and offer a good balance of power and efficiency.
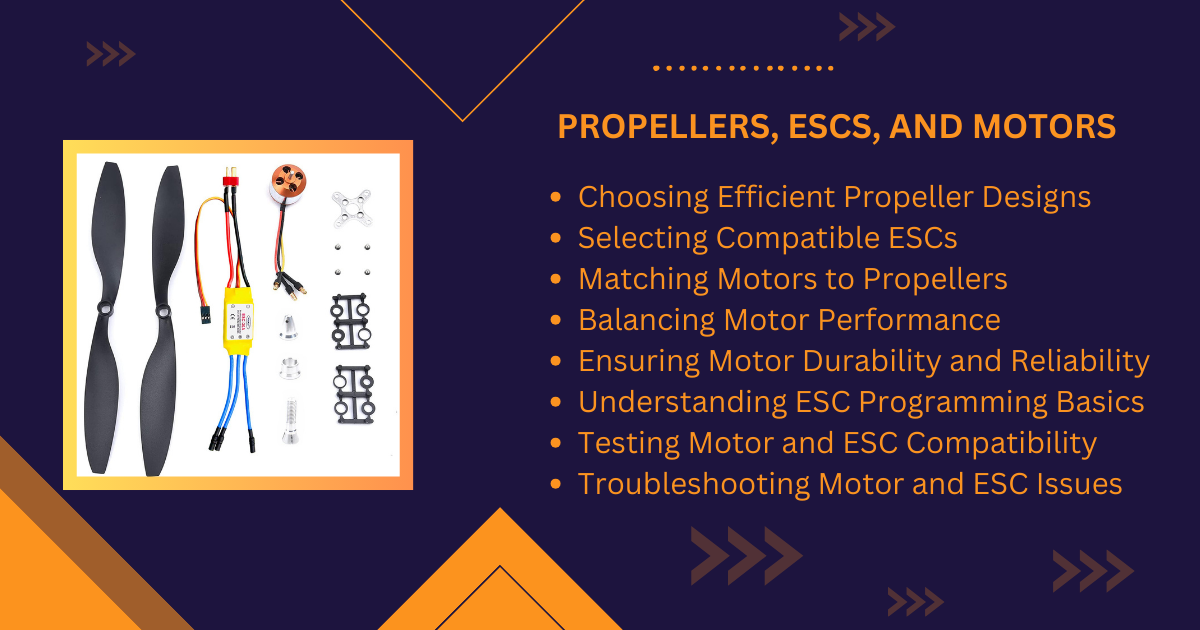
When purchasing these components, don’t hesitate to seek assistance from knowledgeable staff at the store. They can help you select the right components for your drone and ensure everything is compatible.
By choosing the right propellers, ESCs, and motors for your drone, you can help ensure its reliability and performance. Investing in quality components from a trusted source will ultimately enhance your drone-building experience and the enjoyment of flying your drone.
STEP 3: Assemble the Motors
In Step 3 of building your DIY drone, it’s time to assemble the motors. This step is crucial for ensuring your drone’s propulsion system is securely attached to the frame, allowing for stable and controlled flight.
Begin by determining the placement of your motors on the frame. Measure the distance between the screw holes on the motors and mark these positions on the frame. Use a drill to create holes in the frame that align with these markings, ensuring they are the correct size for your screws.
If your motors come with pre-installed mountings, you can skip drilling and attach the motors to the frame. Place the motor in the designated position on the frame and use screws and a screwdriver to secure it in place. Make sure the motor is firmly attached but not over-tightened to avoid damaging the frame or motor.
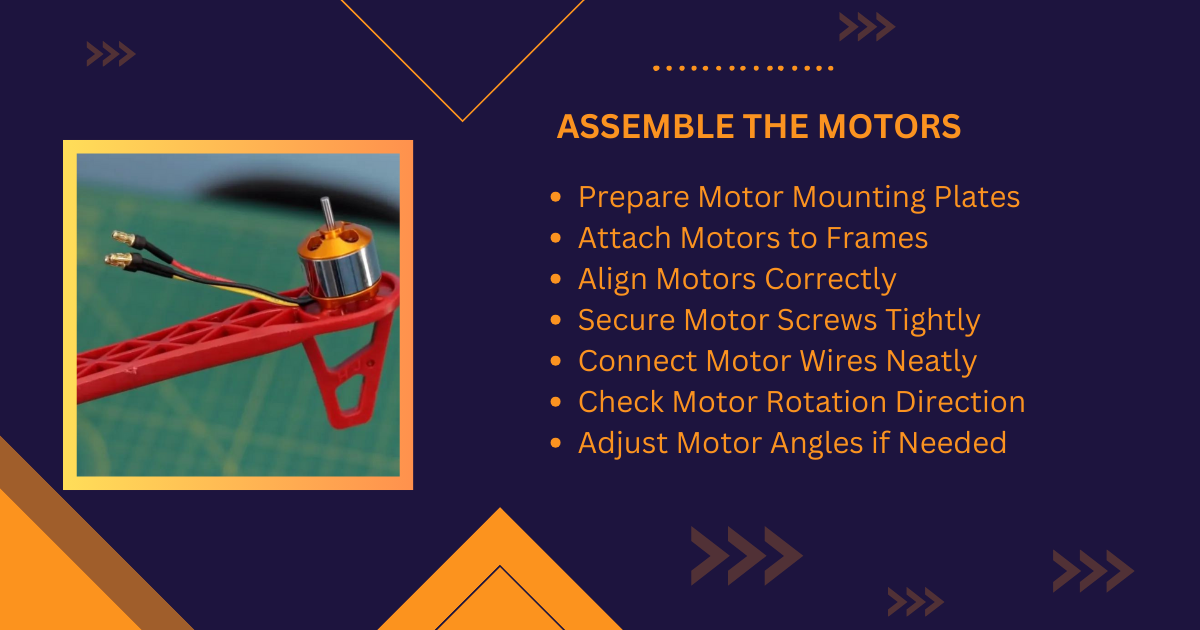
Additionally, it’s a good idea to create an additional hole in the frame that allows the motor’s clip and shaft to move freely. This ensures that the motor can operate smoothly and efficiently, contributing to your drone’s overall performance.
By following these steps, you can assemble the motors on your DIY drone, bringing you one step closer to completing your custom-built flying machine.
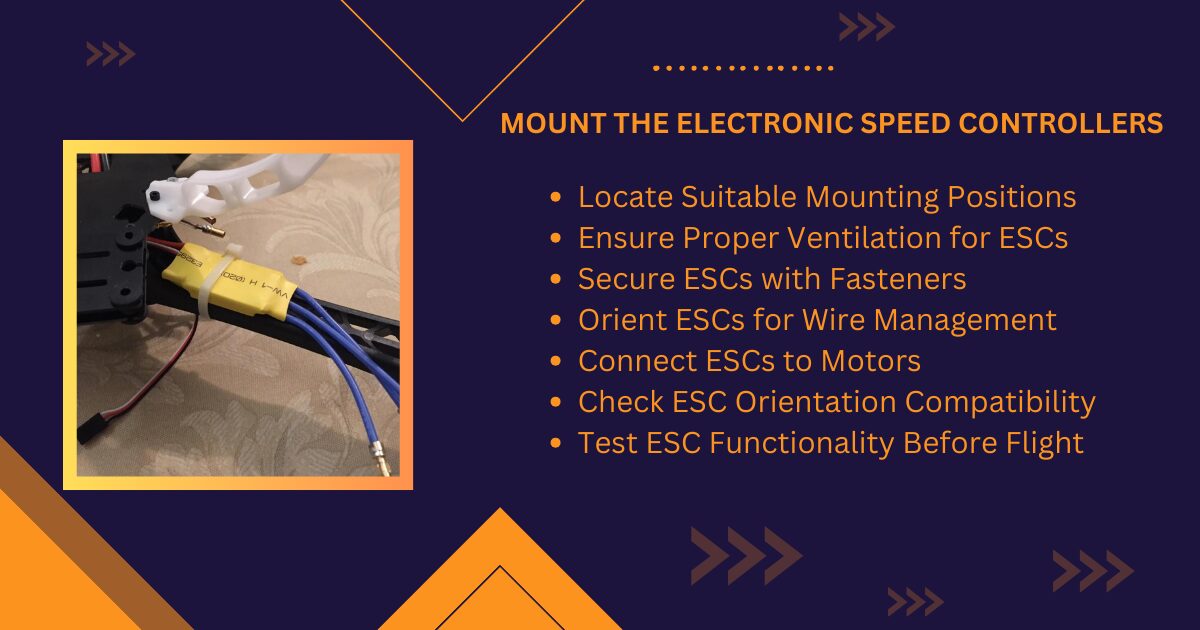
STEP 4: Mount the Electronic Speed Controllers
After mounting the motors on your F450 frame for your DIY drone project, the next step is to install the Electronic Speed Controllers (ESCs). Proper ESC installation is crucial for the drone’s functionality and performance.
To mount the ESCs, it’s recommended that they be attached to the bottom side of the frame. This helps distribute the weight of the components and prevents overloading the upper side of the drone, where other components will be placed.
Here’s how you can mount the ESCs:
- Positioning: Place the ESCs on the bottom side of the frame, near the arms where the motors are mounted. Ensure that they are positioned to allow easy access to the motor wires and other connections.
- Secure with Zip Ties: Use zip ties to secure the ESCs to the frame. Wrap the zip ties around the ESCs and the frame tightly to prevent any movement during flight. Make sure the ESCs are well-secured and won’t come loose during operation.
- Wire Management: Once the ESCs are securely mounted, manage the wires neatly to avoid any interference with the propellers or other components. Use cable ties or adhesive mounts to keep the wires in place and prevent them from getting tangled.
By following these steps, you can effectively mount the ESCs to your F450 frame for your DIY drone project. Proper mounting of the ESCs is essential for the drone’s stability and performance, so take your time to ensure they are securely attached.
STEP 5: Add the Landing Gear
Adding drone landing gear is a crucial step in ensuring a safe and smooth landing for your UAV. The landing gear reduces the impact and shock when the drone touches down, especially on solid ground. While there are various ways to create landing gear, it’s an opportunity to get creative and personalize your quadcopter.
One idea for making drone landing gear is to use a metal pipe approximately 6 inches in diameter. Cut the pipe into four rings, each 1-2 cm thick, depending on your drone’s size. These rings should be smaller than the drone’s overall size. Attach these rings to the frame using duct tape or other suitable adhesive.
If you prefer not to use a metal pipe, there are other options. You can explore using flexible yet durable materials such as new plastics or any material that can effectively absorb shock.
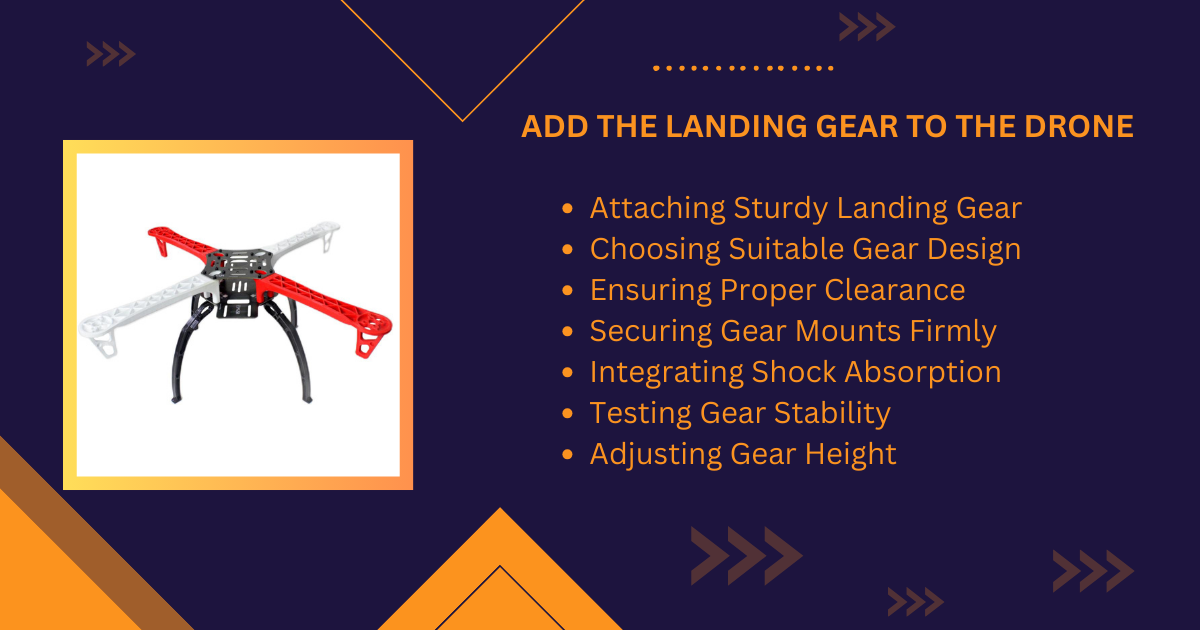
When designing and attaching your drone landing gear, ensure it is securely fastened to the frame and does not interfere with the drone’s propellers or other components. Additionally, consider the landing gear’s weight to maintain the balance and stability of your drone during flight.
By customizing your drone landing gear, you can enhance the safety and performance of your UAV while adding a unique touch to your project. Experiment with different materials and designs to find what works best for your drone’s needs.
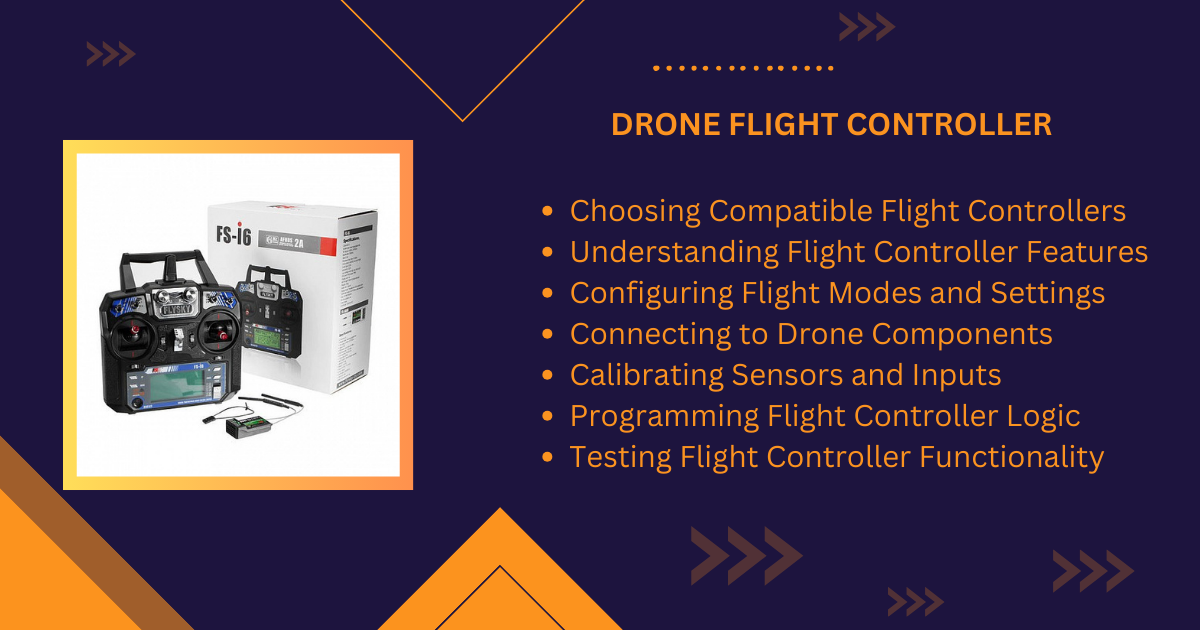
STEP 6: Drone Flight Controller
In the world of drones, the flight controller is like the brain that keeps everything running smoothly. It’s a crucial component that helps your drone stay stable in the air and manoeuvre effectively.
When you’re looking for a flight controller, you have two main options:
- Ready-to-Use Controllers: The simplest approach is to purchase a pre-built flight controller. Options like the DJI Naza M V2 or DJI Naza Lite offer reliable performance and ease of use, making them ideal for beginners.
- DIY Controllers: For those with more technical prowess, building your flight controller is an option. Several open-source projects provide detailed instructions and software for creating custom controllers tailored to your needs:
- ArduPilot: A high-performance, automated flight controller system that offers advanced features but comes at a higher cost.
- OpenPilot CC3D: An open-source project known for its ease of setup and installation, featuring 6 channels and the MPU-6000 sensor.
- NAZE32: A flexible, advanced controller with improved control capabilities. However, it requires careful setup and tuning.
Building your own controller can be a fun and rewarding experience, but it’s also quite complex. You’ll need to be comfortable with electronics and programming to pull it off.
No matter which option you choose, the flight controller is a critical part of your drone setup. It’s what allows you to control your drone and make sure it flies smoothly and safely. So, whether you’re buying a ready-to-use controller or building your own, make sure you choose one that fits your needs and skill level.
STEP 7: Choosing the Right RC TX-RX (Wireless Remote Control System)
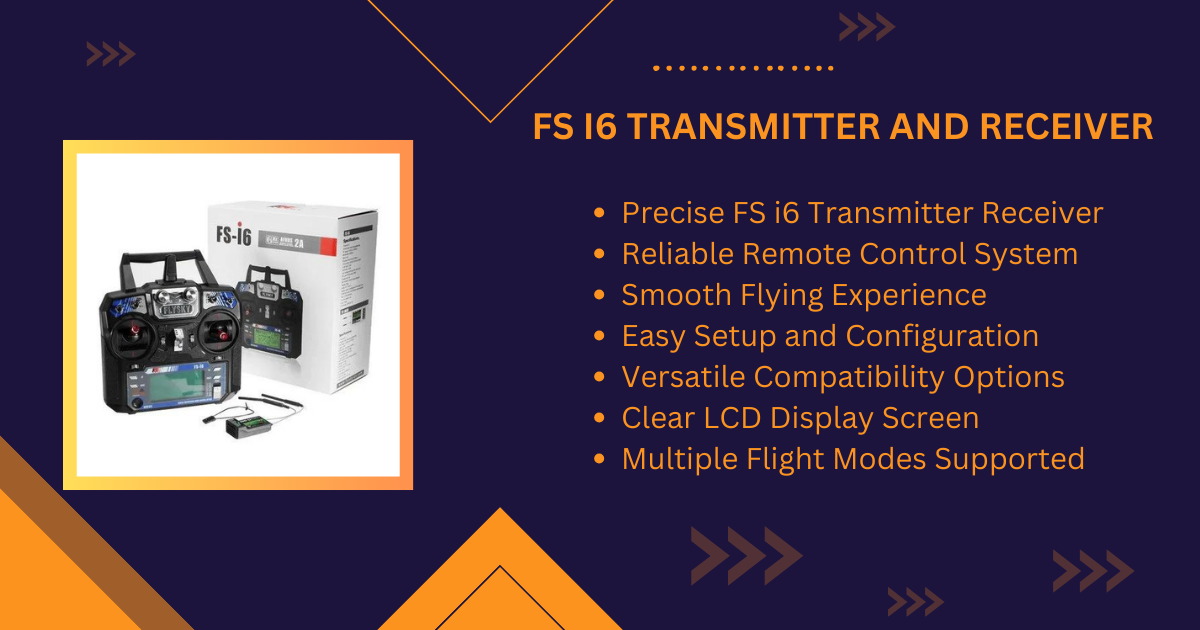
One of the key components for controlling your drone is the remote control system, also known as the RC transmitter and receiver. This system allows you to pilot your drone with precision and ease.
When choosing an RC transmitter and receiver for your drone, consider the number of channels it offers. You’ll need channels for essential functions like yaw (left and right rotation), pitch (forward and backward movement), throttle (altitude control), and roll (side-to-side movement). Additionally, if you’re interested in aerial photography, you may want extra channels for camera control.
A quality RC transmitter and receiver will provide a reliable connection between you and your drone, ensuring smooth and responsive flight. Look for a system that offers a comfortable grip and intuitive controls for ease of use.

Investing in a good quality RC transmitter and receiver is essential for a successful drone flying experience. It will give you the control and precision you need to navigate your drone through the skies with confidence.
By selecting the right RC transmitter and receiver for your drone, you’ll be ready to take to the skies and explore the world from a whole new perspective.
STEP 8: Mount the Flight Controller
When assembling your drone, one crucial step is mounting the flight controller. This component is essential for controlling the drone’s flight and stability. Here’s how to mount it properly:
- Choose the Right Flight Controller: Select a flight controller that meets your needs and is compatible with your drone’s frame and other components.
- Mounting Options: There are several ways to mount the flight controller. One common method is to place it on the top of the frame in a specific direction. Ensure all components are securely fixed before calibration.
- Use Zip Ties: As mentioned earlier, secure the flight controller with zip ties. This helps hold the controller in place and reduces vibrations.
- Sponge Absorption: For added stability, consider placing a small piece of sponge on the underside of the flight controller. This helps absorb and reduce vibrations from the motors, making your drone more stable during flight.
- Calibration: Before flying, calibrate your drone according to the flight controller’s instructions. This ensures that the controller is properly set up and ready for flight.
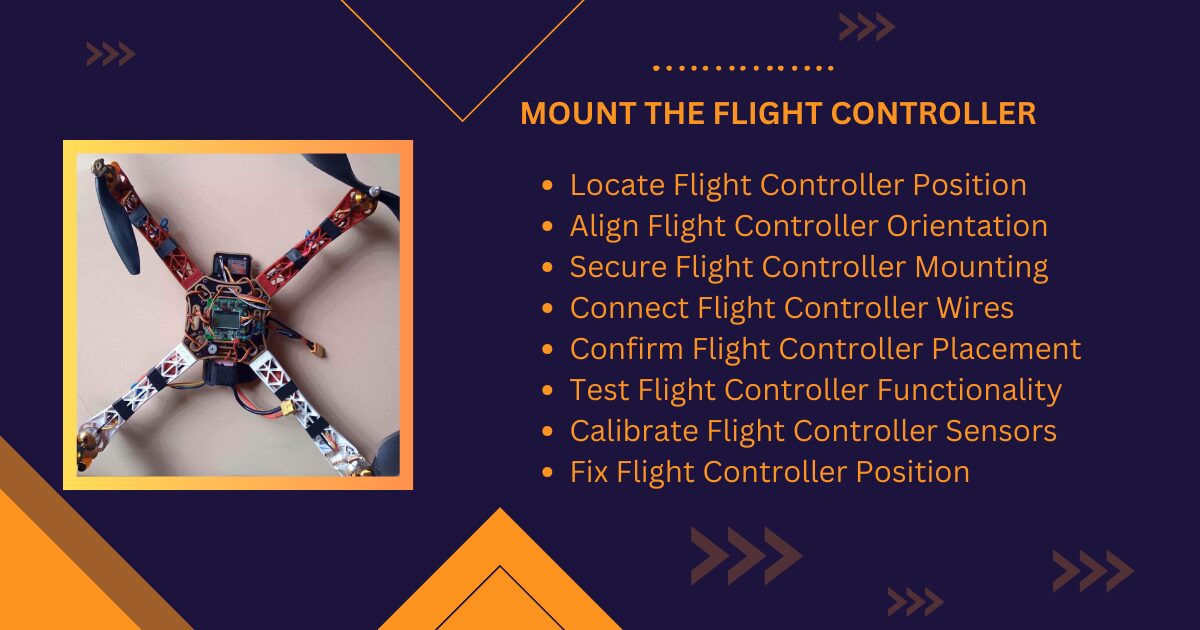
Mounting the flight controller correctly is essential for your drone’s overall stability and performance. By following these steps, you can ensure that your drone is properly equipped for smooth and stable flight.
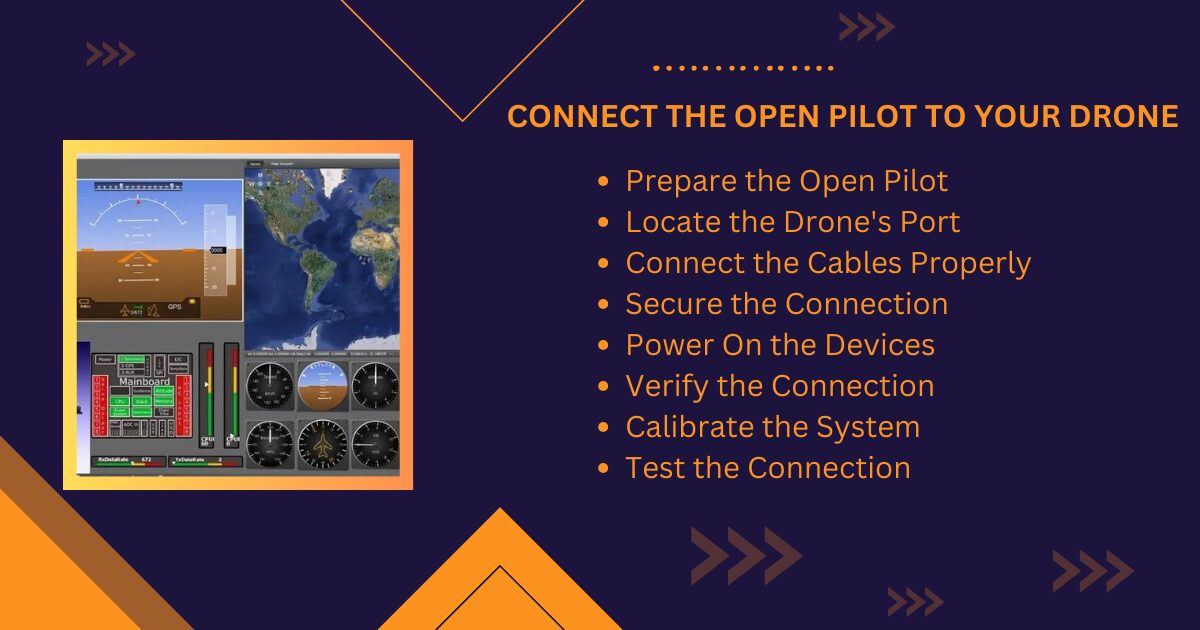
STEP 9: Connect the Open Pilot to Your Drone
Connecting the flight controller to your drone is a crucial step in the building process. This step involves configuring the flight controller and connecting it to the electronic speed controller (ESC) and remote control.
To connect the flight controller to the ESC, follow the instructions for your particular flight controller. Tutorial videos online demonstrate how to do this for your specific model.
Additionally, connecting the flight controller to the remote control is essential for controlling your drone. This step ensures that your drone responds correctly to your commands.
If you’re using an Arduino Uno Controller for your build, I’ve written an ultimate guide that covers everything you need to know. This guide includes detailed instructions on assembling your drone, wiring all the components together, and programming the Arduino Uno Controller.
By following this guide, you’ll be able to build your own drone with the Arduino Uno Controller and gain a deeper understanding of the building and programming process.
Building a drone can be a rewarding and educational experience. By following the right steps and using the right resources, you can create a drone that meets your needs and allows you to explore the world from a new perspective.
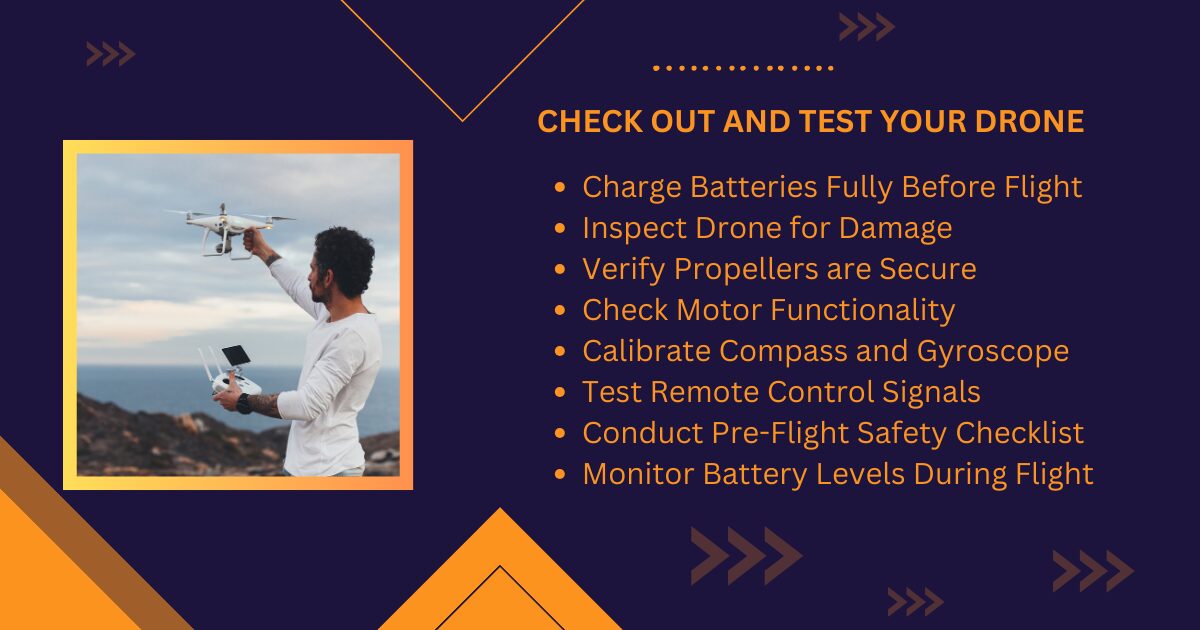
STEP 10: Check Out and Test Your Drone
Before taking your drone for its inaugural flight, it’s crucial to thoroughly test all its functions. This ensures that everything is in working order and reduces the risk of accidents or damage.
You can use the Open Pilot GCS (Ground Control Station) to test the sensors and other components of your drone. This software allows you to check and calibrate the drone’s various systems before flight.
To conduct a pre-flight test, remove the propellers and perform a simple experiment with the remote control. This allows you to verify that the drone responds correctly to commands without the risk of flying off uncontrollably.
Find a suitable location for the test, preferably an open area away from obstacles and people. Ensure that all zip ties and cables are securely connected before powering on the drone.
During the test, pay close attention to how the drone behaves. Test its manoeuvrability within the control distance to ensure that it responds smoothly to your commands.
It’s essential not to rush this step. Thoroughly check all aspects of your drone’s functionality to avoid any issues during flight. After all, you wouldn’t want your drone’s maiden flight to end in disaster!
By following these steps, you can ensure that your drone is ready for safe and enjoyable flights.
STEP 11: Takeoff
As you prepare for takeoff, ensure that your drone’s battery is securely connected, and all components are properly fixed in place. The test flight location is crucial, as drones can cause damage if not handled correctly. Choose an open, flat area to minimize risks to both your drone and its surroundings. Additionally, ensure you have a clear line of sight to your drone at all times.
To start your first flight, place your quadcopter on the ground, power it up, and take hold of the flight controller. Begin by slowly increasing the throttle to lift off, keeping the drone at a low altitude for the initial flight. This approach minimizes damage in case the drone becomes difficult to control.
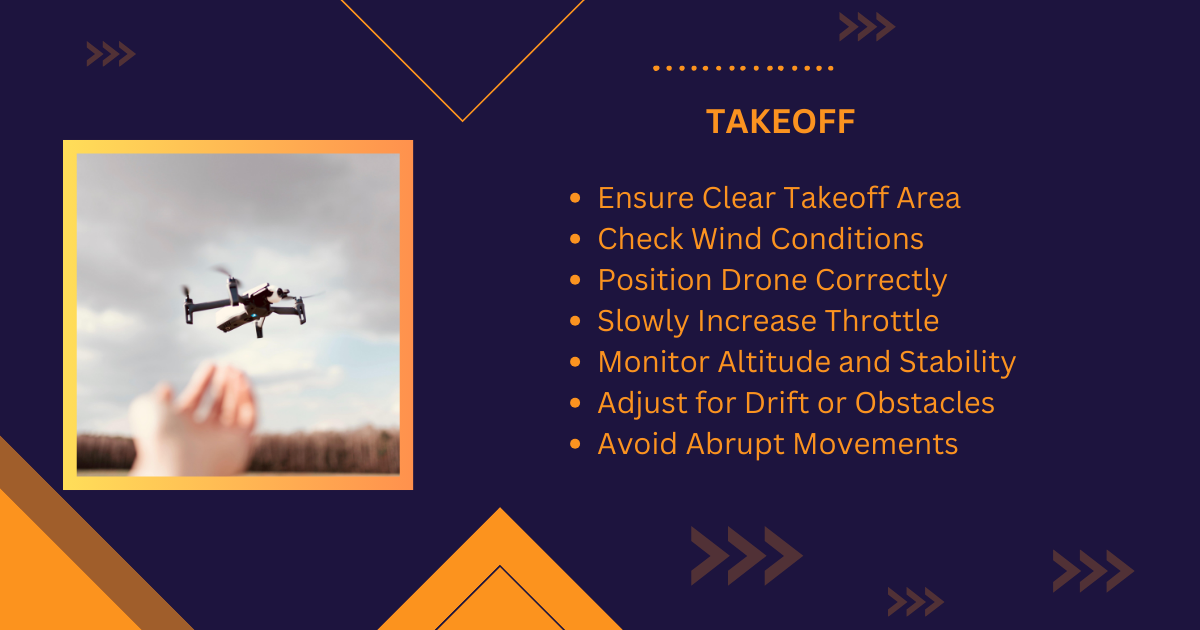
If you notice the drone drifting in a particular direction, use the trim settings on your controller to make flight corrections. Experiment with different Proportional, Integral, and Derivative (PID) values to fine-tune your drone’s response until you achieve the desired flight characteristics.
Successfully taking off is a significant milestone in your drone-building journey. By following these steps and practising safe flying habits, you can enjoy the thrill of piloting your custom-built quadcopter.
Wrapping Up
In this article, we’ve explored the process of building a drone from scratch, touching briefly on the components and steps involved. However, the world of drone building is vast and varied, with numerous intermediate steps and customization options beyond the basics outlined here. Building a drone offers endless possibilities with various types, parts, software, and add-ons, allowing customization based on desired features.
When comparing DIY drones to ready-to-use models, it’s important to note they may lack features and appearance. This is particularly true for amateur-assembled drones. However, this quality gap is often not a concern for those building drones from scratch. Many hobbyists find joy in building and flying their creations, finding satisfaction in the process.
One key consideration when building a drone is the total cost. The price can vary greatly depending on the components, accessories, and software you choose. As a general estimate, building an ordinary quadcopter from scratch can cost anywhere from $200 to $300. This cost doesn’t include extras like cameras for aerial photography, which can add to the total expense.
You can find advanced drones on Amazon at a similar price to DIY drones. Building and flying your creation is a priceless experience. Many DIY drone builders find greater joy and pride in flying their creations than in using a pre-made model.
In conclusion, building your own drone can be a rewarding and educational experience. It allows you to customize your drone to your exact specifications and learn valuable skills along the way. Whether you’re looking to delve into aerial photography or enjoy the thrill of flying, building a drone from scratch is an adventure worth undertaking.